Table of Contents
Scan a network
Nessus provides a set of ready-to-use templates. For general scans, the and would work. The differences are the supports the and which can be used to fine-tune the compliance checks (credentials are required) and plugins.
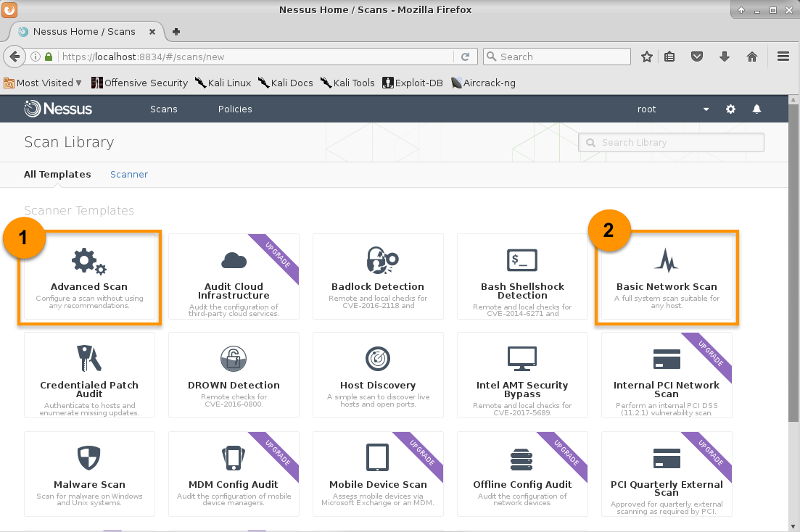
Advanced Scans
-
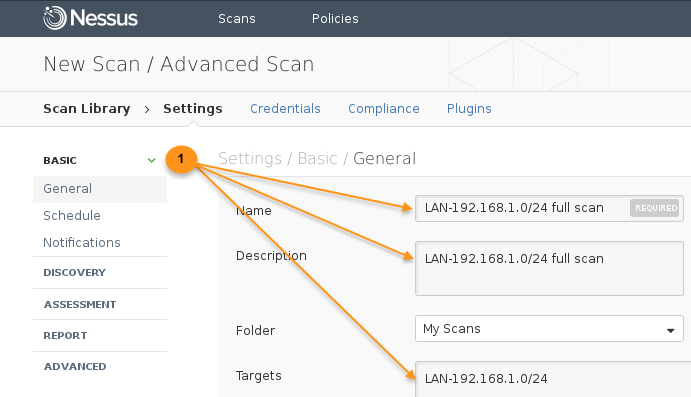
Navigates to → → , insert the Name, Description, and Targets. The Schedule and Notifications options enable the scan to be performed at certain time and email the results to a list of recipients automatically.
-
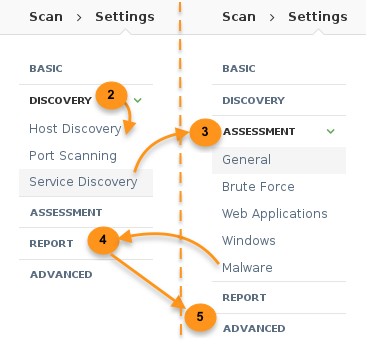
Tune the rest of the settings:
-
Once all is set, save. The scan job will be listed in My Scans folder.
Basic Network Scans
-
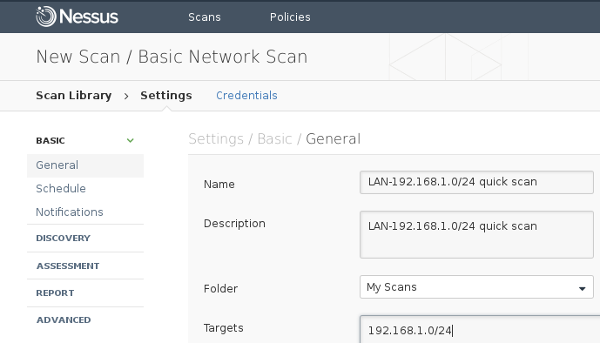
Navigates to → → , insert the Name, Description and Targets, then save.
Launch A Scan
-
From the My Scans folder, select a task from the list to launch the scan.

-
Once the scan complete, the status bar will changed to checked.

Results
-
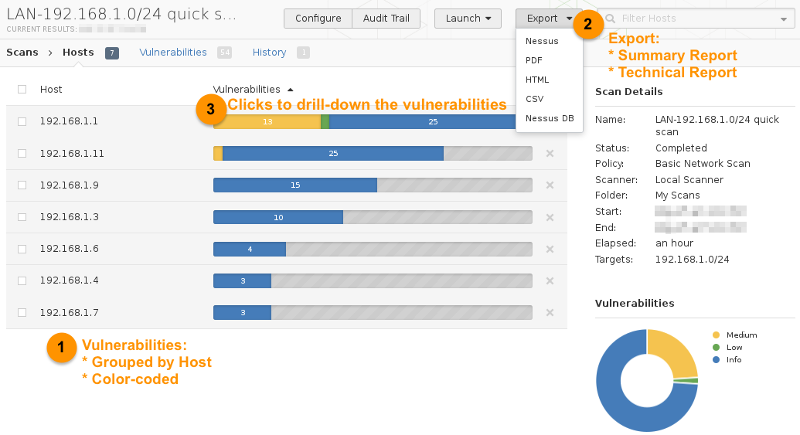
The scan results are grouped by host, and vulnerabilities (color-coded by severity).
-
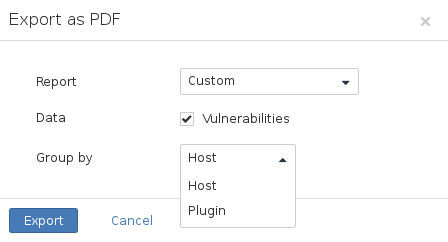
To prepare both summary and technical reports to circulate among teams, use the → (or HTML, CSV, Nessus, Nessus DB)
-
Clicking the vulnerabilities bar will drill-down to the next-level of 192.168.1.1 vulnerabilities:
-
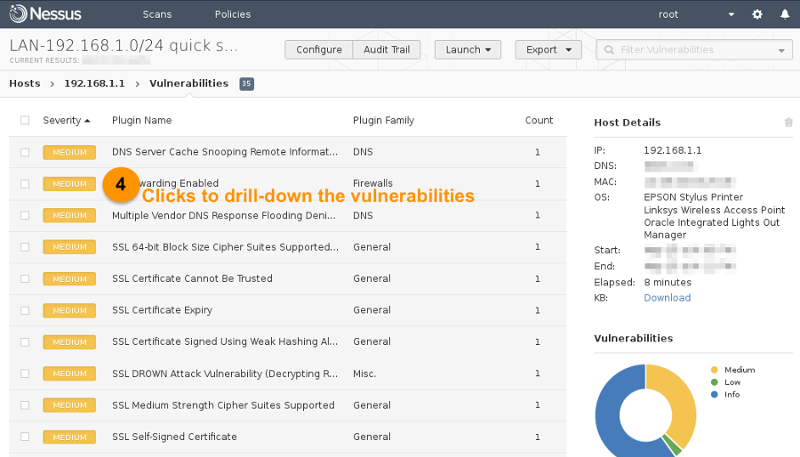
The next level of drill-down will display the list of vulnerabilities exposed by Nessus on target 192.168.1.1, and clicking the specific vulnerability will drill-down to the attack vectors info:
-
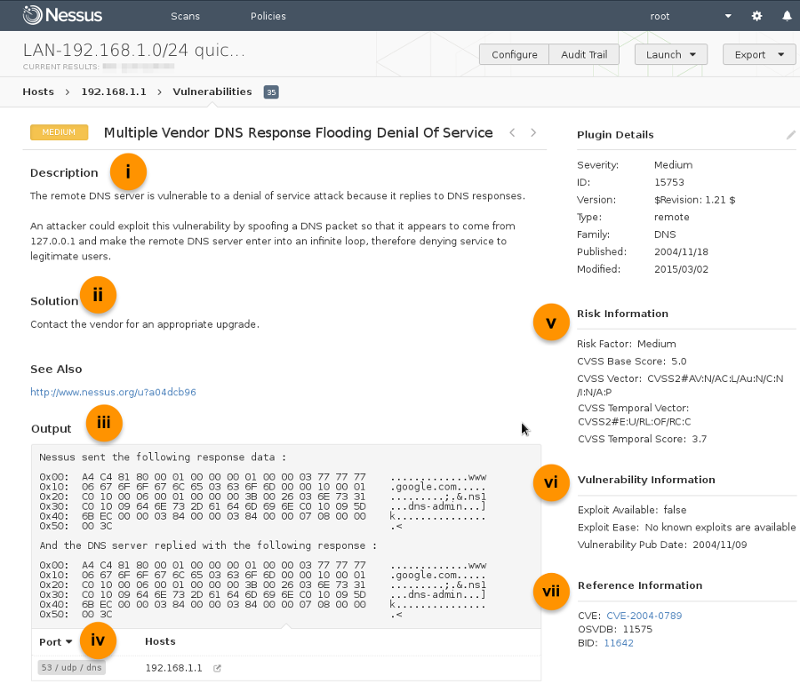
The description of the vulnerability, the recommended solution, and the payload used during the scan are documented:
i. Description of the vulnerability and the attack vector.
ii. The recommended solution.
iii. The attack code/payload during the scan.
iv. Network port used for this attack.
v. A summarize of the risk factor information.
vi. Vulnerability information on known exploit availability and publication date.
vii. Reference information from the CVE (Common Vulnerabilities and Exposures) network.
Exports
Executive Report
-
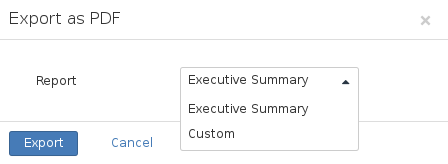
To generate an executive report, choose :
Technical Report
-
To generate a technical report, choose , select to include the data, and group by .
References: